Used to insulate wires or cables, heat shrink tubing can be tricky to fit well. Our guide shows you how to ensure the tubing fits snugly with a smooth appearance, every time.
When to use heat shrink tubing
Most often used by electricians and engineers, heat shrink tubing is used for a variety of purposes including:
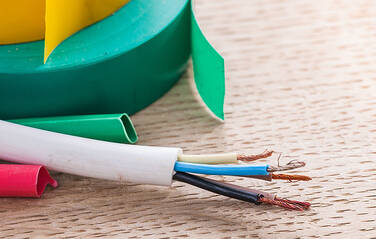
Electrical insulation – heat shrink tubing provides insulation when repairing exposed wires or damaged wiring. It is not conductive and can therefore prevent hazards such as short circuiting and electric shocks.
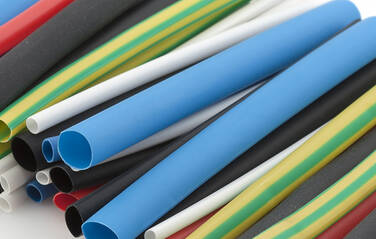
Identification of different wiring – heat shrink tubing is available in a variety of colours, allowing it to be used to colour code wires for easier and quicker identification.
Protection – the tight fit of the heat shrink tubing ensures that cabling is protected against an ingress of dirt, dust, moisture or chemicals. It will also offer protection against physical damage and vibration.
Providing reinforcement – wires that may be under strain are at risk of a reduced lifespan and heat shrink tubing can strengthen wires, reducing the strain on connections.
Safety precautions when using heat shrink tubing
As with any application requiring the use of heat, safety measures must be carried out before starting. When applying heat shrink tubing, ensure you wear eye protection, gloves and a mask and only work in a well-ventilated space with windows open when working with a heat gun.
How to use heat shrink tubing
The following steps will have your heat shrink tubing in place in no time:
- Choose your heat shrink tubing, paying close attention to the shrink ratio – it should fit around the wiring to be encased before it has been shrunk to ensure a tight fit after. Note: shrink ratio applies to length and diameter of the tubing so the heat shrink tubing should be longer than the section of wiring to be covered.
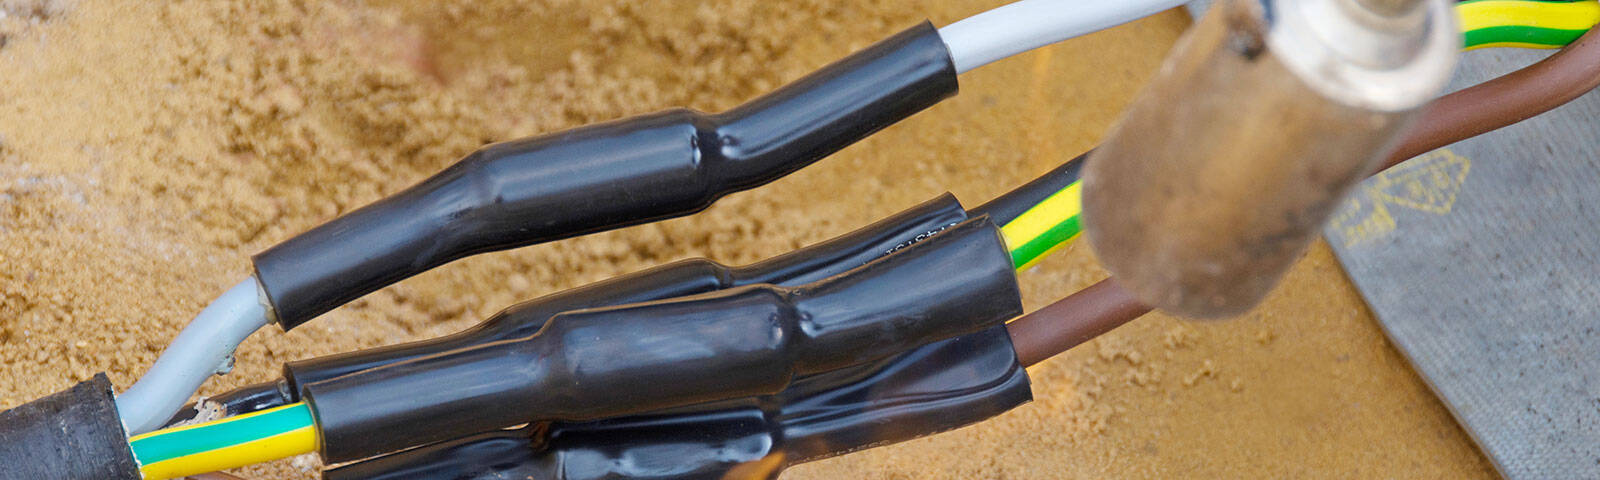
- Slide the heat shrink tubing over the wires, covering the damaged or exposed area. Maintain an equal overlap of tubing at each end of the damaged length.
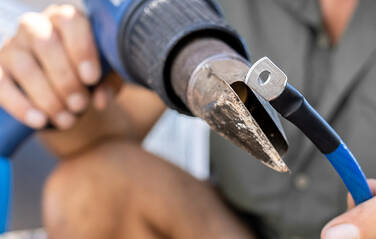
- Using a heat gun, apply heat evenly, starting at the middle and working towards each end in turn; this will reduce the chance of bubbles developing. Keep the heat gun moving – if you linger over an area, it can cause charring of the tubing or make it brittle. A heat gun is always the preferred heat source when applying heat shrink tubing as it is safer than other options such as a hairdryer. Open flames such as a lighter are not only dangerous but can cause uneven shrinkage, damage and insulation failure.
- Remove the heat source and allow the tubing to cool completely before applying any pressure to it.
Electrical supplies from cableties-online
We supply a large selection of electrical supplies, from terminals and connectors, to heat shrink tubing and crimping and cutting tools. Our heat shrink tubing has a 2:1 shrink ratio and we also stock adhesive lined heat shrink tubing in a 3:1 ratio. Our complete guide to heat shrink tubing has lots of helpful information, and our experienced sales staff can be contacted by phone on 01623 412160 or by email at sales@cableties-online.co.uk